Introduction
Before we delve into the process, let’s understand the importance of changing locks and ensuring the security of your home.
Tools You Will Need
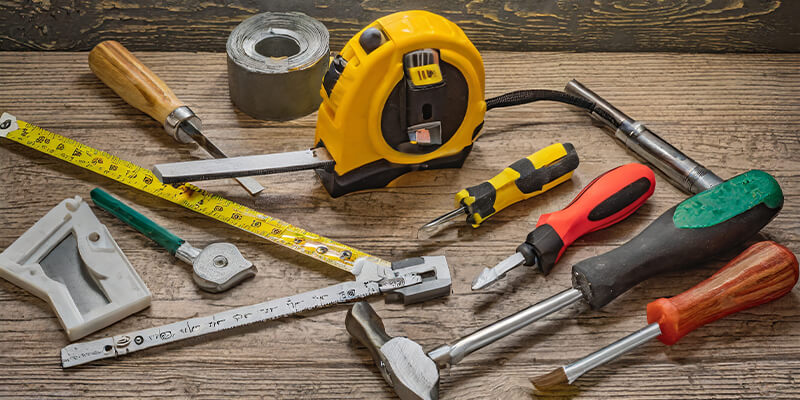
Screwdriver
New lock set
Instructions manual
Tape measure (if required)
Chisel (if required)
In-Depth Tutorial:
1. Gather Necessary Tools:
To begin with, assemble all the tools you’ll need: a screwdriver, the new lock set, and the instructions manual that comes with it. Depending on your door’s specifications, you might also need a tape measure and a chisel.
2. Remove the Existing Lock:
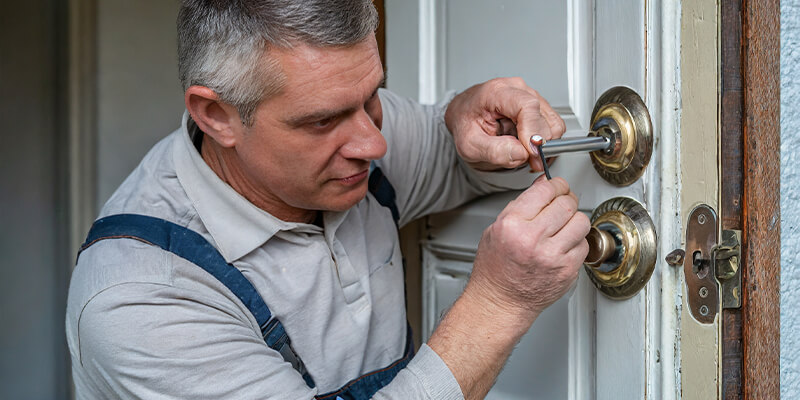
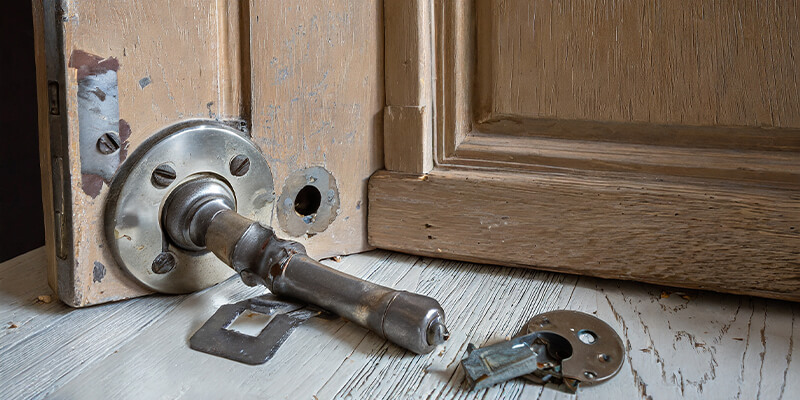
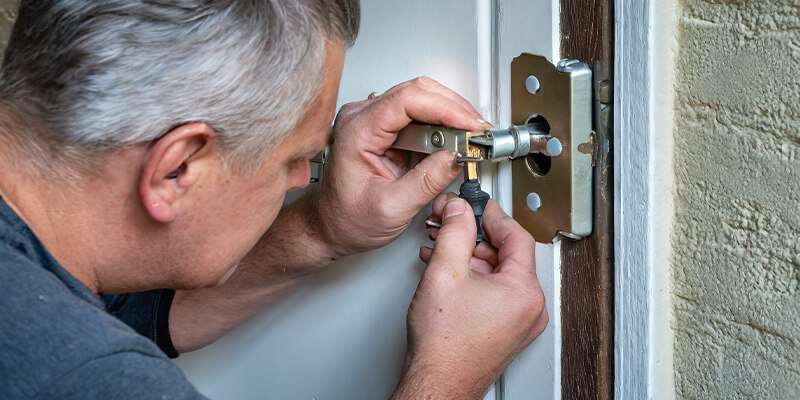
Next, start by removing the old doorknob. Unscrew the old doorknob pieces on both sides of the door, then gently pull them apart. Following this, remove the screws from the edge of the door that are holding the latch in place, and then take out the old latch.
3. Preparation for New Lock Installation:
Furthermore, if your new lock is a different size than the old one, you may need to adjust the hole in the door or the latch plate on the door’s edge. Use a chisel for any necessary adjustments.
4. Insert the New Latch:
After that, place the new latch into the hole on the edge of the door, ensuring the tapered side of the latch is facing the direction the door closes. Secure the latch with screws.
5. Secure the New Lock:
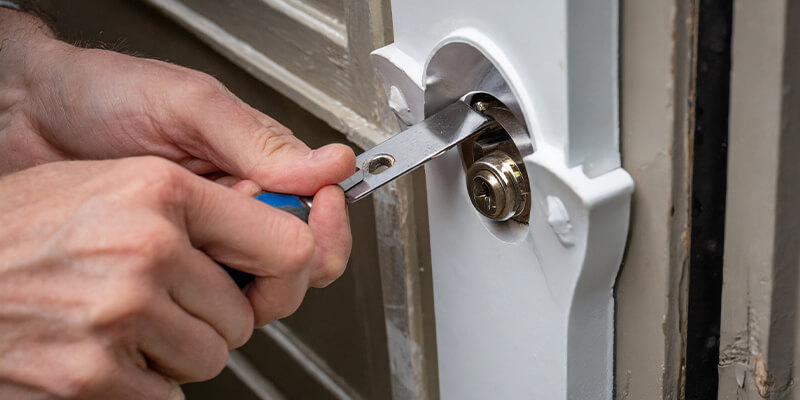
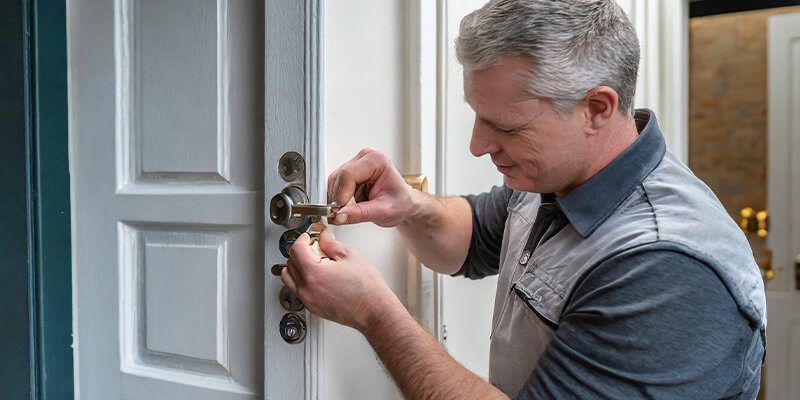
Subsequently, insert the new doorknob pieces into the holes on the door, ensuring the spindle goes through the hole in the latch. Align the two doorknob pieces and secure them with screws.
6. Test Your New Lock:
Finally, before concluding the process, test the new lock to make sure it functions correctly. Check that the latch engages and retracts smoothly, and that the lock turns with ease.
By following these steps, you will know exactly how to change locks on a door, enhancing the security of your home. If at any point you feel uncertain or encounter difficulties, don’t hesitate to contact Fiona Locksmith, your trusted locksmith service provider in Bay Ridge, Brooklyn, NY. We’re here to assist you in protecting your home and loved ones.


